Let’s get real here, folks—Raspberry Pi is more than just a tiny computer. It’s your gateway to a world of possibilities, especially when it comes to remote IoT setups. Whether you’re a tech enthusiast, a hobbyist, or someone looking to automate their home, this little device packs a punch. But hey, with so many options out there, how do you know what’s the best Raspberry Pi remote IoT solution for your needs? Stick around, because we’re about to break it down for ya.
Imagine this: you’re sitting on your couch, sipping your favorite drink, and you want to adjust the thermostat, check your security cameras, or even water your plants—all without lifting a finger. Sounds like magic, right? Well, with Raspberry Pi and remote IoT, it’s not magic—it’s science! And the best part? You don’t need a degree in rocket science to make it happen.
Now, before we dive deep into the nitty-gritty of the best Raspberry Pi remote IoT setup, let’s set the stage. This isn’t just about gadgets and gizmos. It’s about creating a smarter, more efficient lifestyle. So, buckle up, because we’re about to take you on a journey through the world of remote IoT, powered by none other than the mighty Raspberry Pi.
Read also:Desi Mms Video The Untold Story Facts And Insights You Need To Know
What is Raspberry Pi Remote IoT Anyway?
Alright, let’s start with the basics. Raspberry Pi remote IoT refers to using a Raspberry Pi device to control or monitor Internet of Things (IoT) systems from a distance. Think of it as giving your gadgets a brain and a voice, allowing them to communicate with you no matter where you are. It’s like having a personal assistant for your smart home, but way cooler.
Here’s the deal: Raspberry Pi is basically a mini-computer that can be programmed to perform a variety of tasks. When paired with IoT sensors and devices, it becomes a powerhouse for automation, data collection, and remote control. The beauty of it is that you can customize it to fit your exact needs, whether you’re building a smart garden, a security system, or even a weather station.
Why Choose Raspberry Pi for Remote IoT?
Now, you might be wondering, why Raspberry Pi? Why not some other fancy device? Well, there are a few reasons why Raspberry Pi stands out in the world of remote IoT:
- Cost-Effective: Raspberry Pi is super affordable, making it accessible for hobbyists and professionals alike.
- Highly Customizable: You can tweak and modify it to suit your specific requirements.
- Community Support: There’s a massive community of developers and enthusiasts who share their knowledge and projects online.
- Compatibility: It works seamlessly with a wide range of sensors, modules, and software platforms.
So, if you’re looking for a reliable and versatile platform for your remote IoT projects, Raspberry Pi is definitely worth considering.
Top 10 Features of the Best Raspberry Pi Remote IoT Setup
1. Connectivity Options
One of the key features of a great Raspberry Pi remote IoT setup is its connectivity options. Whether you’re using Wi-Fi, Bluetooth, or Ethernet, having reliable and flexible connectivity is crucial for remote operations. This ensures that your devices stay connected and responsive, no matter the distance.
2. Security Features
Security is a big deal when it comes to remote IoT. You don’t want unauthorized access to your smart home or critical systems. That’s why the best setups come with robust security features, including encryption, firewalls, and secure authentication methods.
Read also:Crystal Smith Gospel Singer Biography A Journey Of Faith And Music
3. Scalability
Your needs might grow over time, and that’s why scalability is important. The best Raspberry Pi remote IoT solutions allow you to expand your setup as needed, adding more devices or sensors without much hassle.
4. User-Friendly Interface
No one likes dealing with complicated interfaces, right? A good remote IoT setup should have an intuitive and user-friendly interface that makes managing your devices a breeze.
5. Power Efficiency
Battery life matters, especially for remote devices that might not have constant access to power. The best setups prioritize power efficiency, ensuring that your devices stay operational for as long as possible.
6. Compatibility with Cloud Platforms
Cloud integration is a game-changer for remote IoT. By connecting your Raspberry Pi setup to cloud platforms like AWS, Google Cloud, or Microsoft Azure, you can access advanced analytics, data storage, and remote monitoring capabilities.
7. Real-Time Data Processing
For applications like home automation or industrial monitoring, real-time data processing is essential. The best setups allow you to collect, analyze, and act on data in real-time, giving you instant insights and control.
8. Open-Source Software
Open-source software gives you the freedom to modify and enhance your Raspberry Pi remote IoT setup. It also allows you to leverage a vast library of pre-built tools and libraries, saving you time and effort.
9. Remote Access and Control
Of course, the ability to access and control your devices remotely is what makes Raspberry Pi remote IoT so powerful. Whether you’re using a mobile app, web interface, or command-line tools, having reliable remote access is a must.
10. Cost-Effective Solutions
Finally, the best Raspberry Pi remote IoT setups are cost-effective. They offer a great balance between performance, features, and price, making them accessible to a wide range of users.
How to Set Up the Best Raspberry Pi Remote IoT System
Now that you know what to look for, let’s talk about how to set up your own Raspberry Pi remote IoT system. Follow these steps to get started:
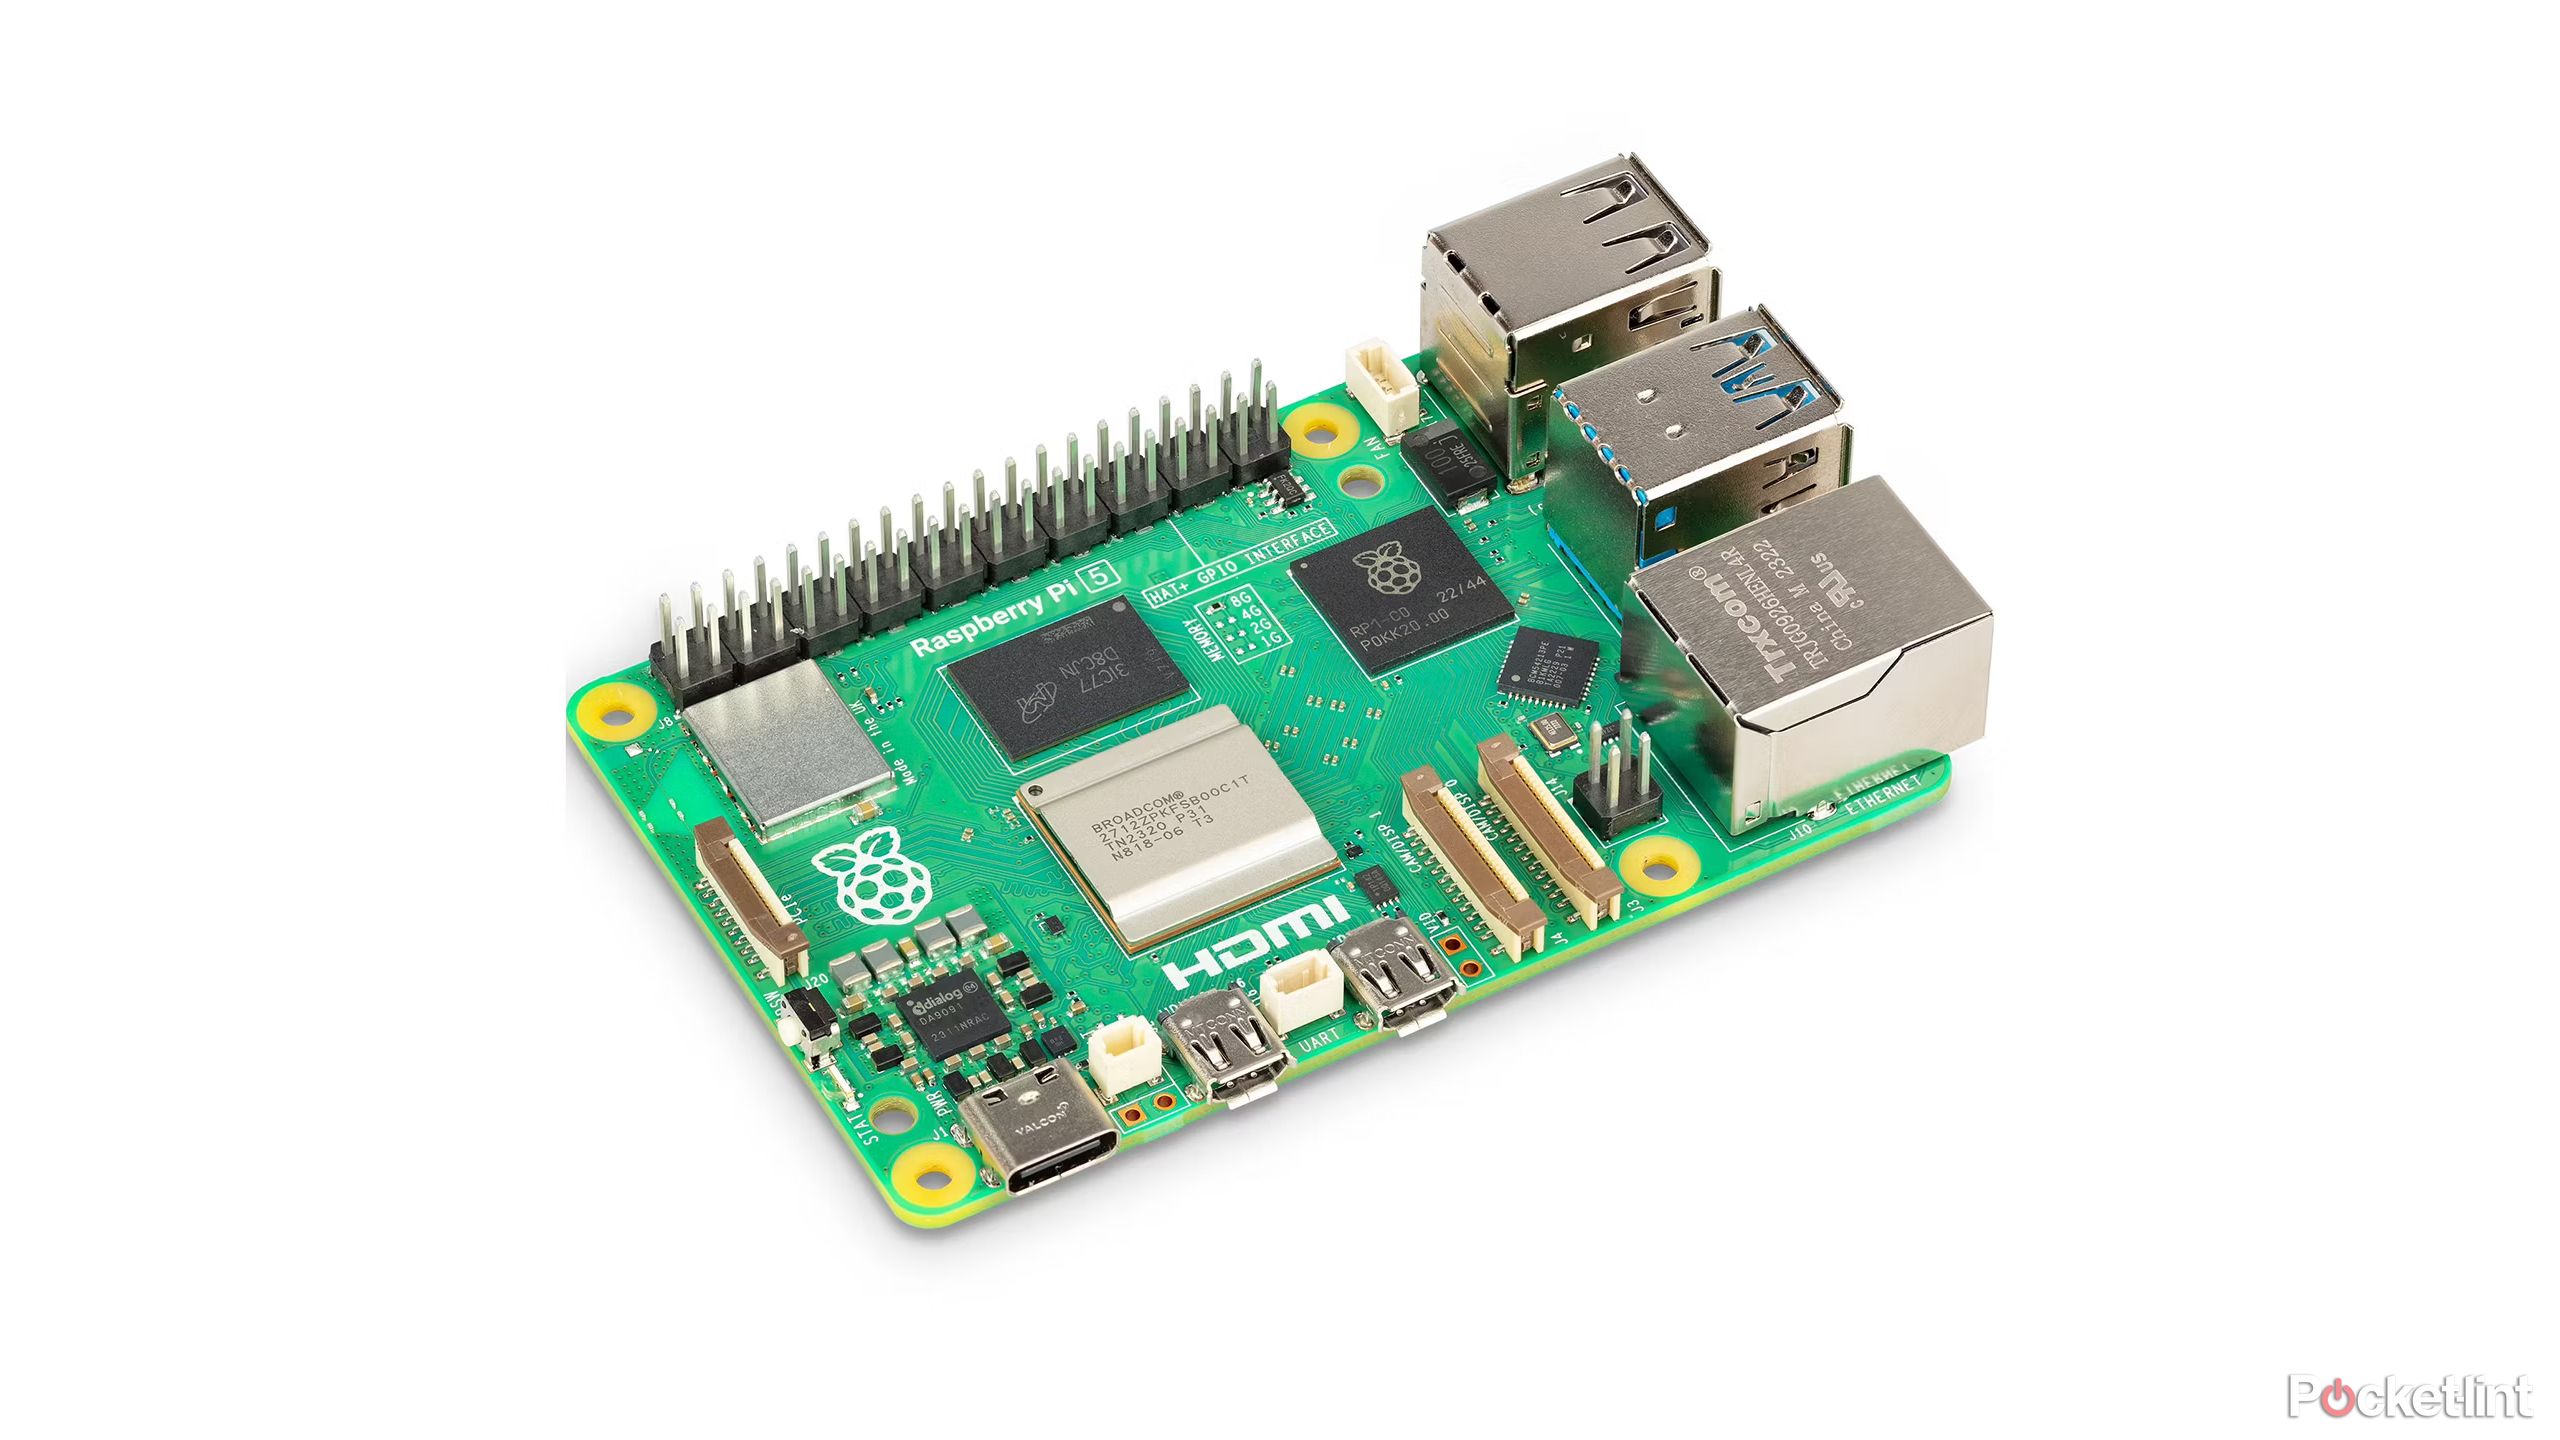
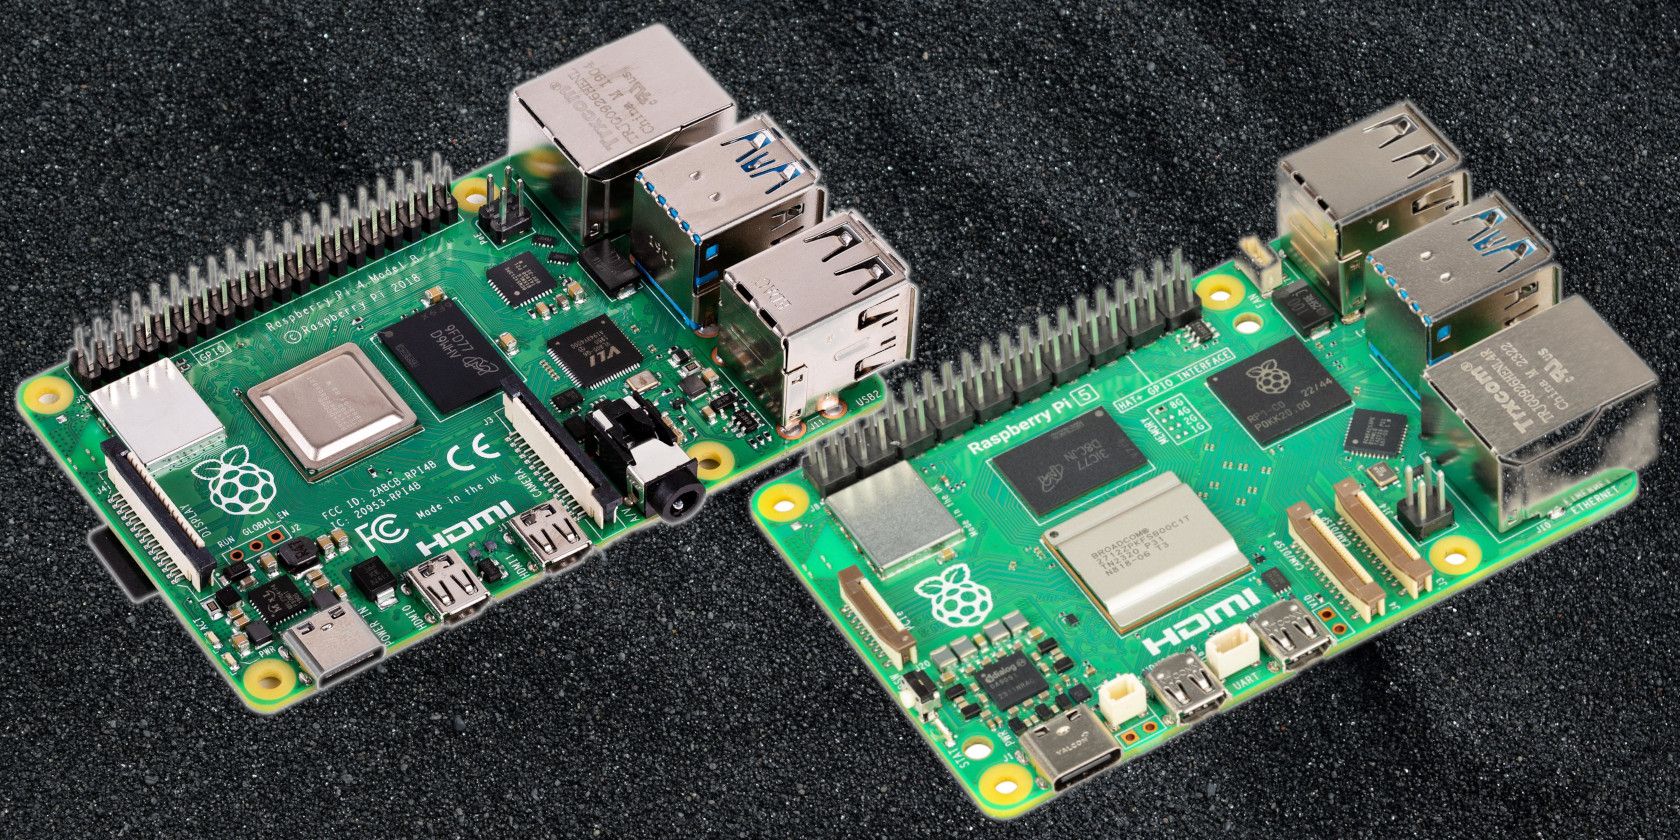
- Choose Your Hardware: Start by selecting the right Raspberry Pi model for your project. The Raspberry Pi 4 is a popular choice due to its powerful performance and extensive features.
- Select Sensors and Modules: Depending on your application, you’ll need to choose the appropriate sensors and modules. For example, if you’re building a smart garden, you might need soil moisture sensors and water pumps.
- Install an Operating System: Download and install a suitable operating system, such as Raspbian or Ubuntu, on your Raspberry Pi.
- Set Up Connectivity: Configure your Wi-Fi or Ethernet settings to ensure your Raspberry Pi stays connected to the internet.
- Write Your Code: Use programming languages like Python or Node.js to write the code that controls your IoT devices.
- Test and Deploy: Test your setup thoroughly before deploying it in a real-world environment.
Common Challenges and Solutions in Raspberry Pi Remote IoT
While setting up a Raspberry Pi remote IoT system is rewarding, it’s not without its challenges. Here are some common issues and how to overcome them:
- Connectivity Issues: Make sure your Wi-Fi or Ethernet settings are correctly configured. Use a wired connection if possible for more stability.
- Security Threats: Implement strong passwords, enable firewalls, and use encryption to protect your system from unauthorized access.
- Power Supply Problems: Use a high-quality power adapter and consider adding a backup battery for uninterrupted operation.
Real-World Applications of Raspberry Pi Remote IoT
So, what can you actually do with a Raspberry Pi remote IoT setup? Here are a few real-world applications:
- Smart Home Automation: Control lights, thermostats, and appliances from anywhere in the world.
- Environmental Monitoring: Set up weather stations or air quality monitors to track environmental conditions.
- Security Systems: Build your own security cameras and motion detectors for added peace of mind.
- Agricultural Solutions: Create smart irrigation systems or livestock monitoring tools to improve efficiency.
Conclusion: Embrace the Power of Raspberry Pi Remote IoT
And there you have it, folks—a comprehensive guide to the best Raspberry Pi remote IoT solutions. Whether you’re a seasoned pro or just starting out, Raspberry Pi offers endless possibilities for creating smart, connected systems. So, why not take the plunge and start building your own remote IoT setup today?
Don’t forget to share your thoughts and experiences in the comments below. And if you found this article helpful, be sure to check out our other guides on all things tech and IoT. Together, let’s build a smarter, more connected future!
Table of Contents